


 080019889
 service@krono-shop.com


How to Install Herringbone Flooring – Step-by-Step with Video
Herringbone flooring is a stunning addition to any home, combining elegance and timeless appeal. Though it may seem challenging, installing it yourself is entirely doable with the right tools, preparation, and guidance. Follow this simple step-by-step guide, and your space will transform in no time!
Prefer watching instead?
Check out our Herringbone Flooring Installation Video here to see the process in action.What You’ll Need
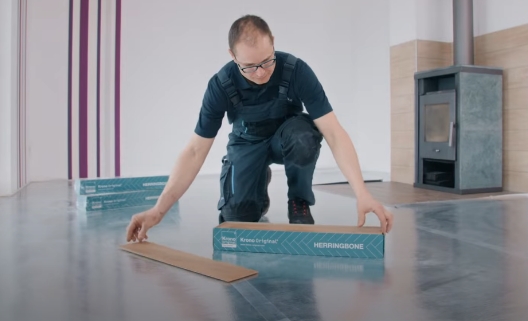
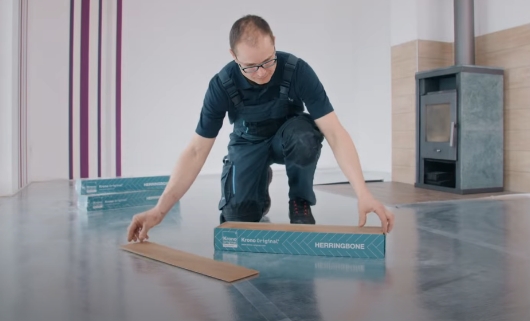
Before you start, gather the following:
Materials:
- Herringbone flooring planks (left and right)
- Insulation underlay
- Spacer wedges (to maintain a 12 mm expansion gap)
Tools:
- Hammering block, hammer, and finishing taps
- Measuring tape, chalk line, and angle tool
- Jigsaw or saw with angle-adjustable fixed stop
- Pencil and masking tape for marking
- Vacuum cleaner or broom for cleaning
Step-By-Step Installation
Step 1: Prepare Your Space
1. Acclimate the Flooring:
Place your planks in the room where they’ll be installed for 48 hours. Keep the room at 18–24°C with 40–70% humidity.
2.Prepare the Subfloor:
Ensure the subfloor is clean, dry, and level.
Use a moisture barrier if installing over concrete.
3. Install the Underlay:
Roll out the underlay, covering the entire floor without overlaps or gaps. This ensures a smooth, sound-insulated base.
Step 2: Plan Your Layout
1. Find the Room’s Center:
Measure and mark the midpoints of two opposite walls. Use a chalk line to create a straight centerline.
In irregular-shaped rooms, align the centerline with a focal point like a door or window.
2.Dry-Lay the Planks:
Lay a few planks along the centerline to visualize how the pattern will look. Adjust the alignment as needed to avoid awkward cuts at the edges.
Step 3: Start Laying the Planks
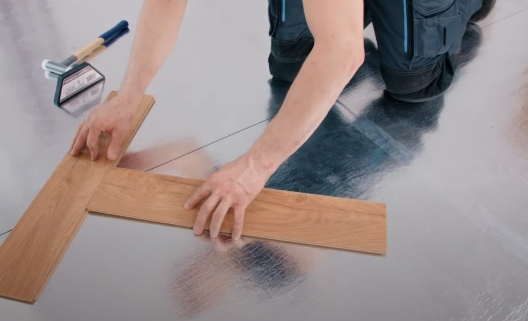
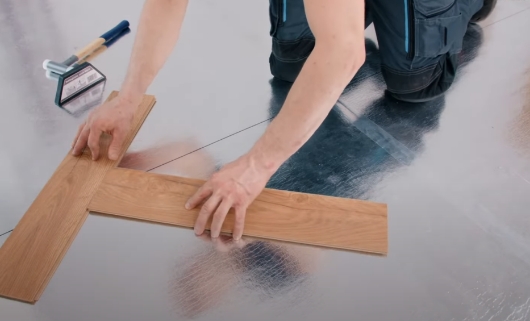
1. Begin with the First “Roof” (Panels 1 and 2):
Place the first plank along the centerline with the groove lip facing you.
Attach the second plank so its short tongue edge connects to the long groove edge of plank. The two planks should form the first “V” or roof shape.
2. Use Your Tools for Precise Connections:
Important: Don’t simply press or angle the planks together. Use the hammering block, hammer, and finishing taps to secure the connection.
Place the hammering block against the short side of plank and tap it with the hammer until the planks lock tightly.
3. Check the Connection:
Run your hand along the V-joint edges to ensure there are no gaps, misalignments, or height differences.
Correct any issues immediately, as alignment errors can carry through the pattern.

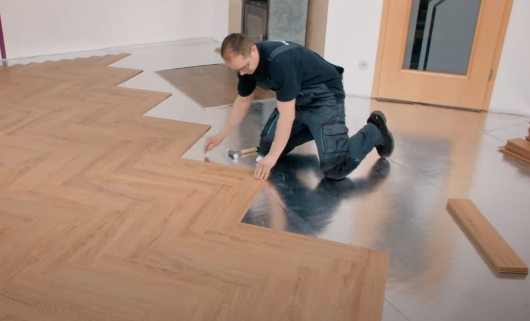
Step 4: Build the Pattern
1. Extend the Central Strand:
Add more planks to the centerline, alternating between left and right planks to create the herringbone “W” pattern.
Insert each plank at a 30° angle into the long groove of the previous plank, then lower and lock it with the hammering block.
2. Check Alignment Constantly:
Continuously ensure the central strand stays aligned with the centerline and that all V-joints are seamless.
3. Fill the Sides Gradually:
Once the central strand is complete, work outward to fill the sides of the room. Alternate the direction of planks as needed (toward and away from you).
4. Tackle Irregular Areas:
For corners or small gaps, cut planks into triangular pieces using a jigsaw or saw with an angle-adjustable stop.
Step 5: Finishing Touches
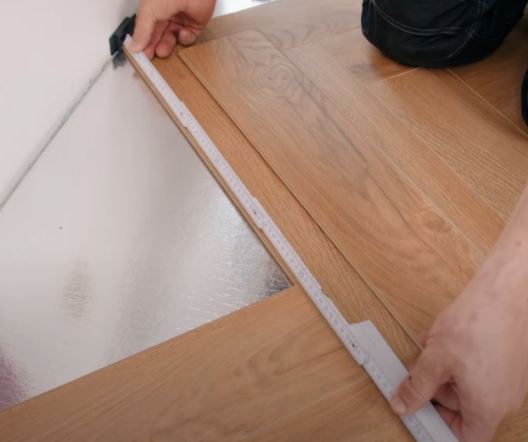
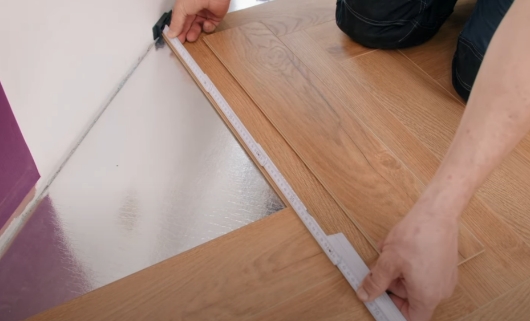
1. Maintain Expansion Gaps:
Leave a 12 mm expansion gap along walls, stairs, and door frames. Spacer wedges make this easy.
For larger rooms (over 8m in length or width), include 20 mm expansion joints and cover them with profiles.
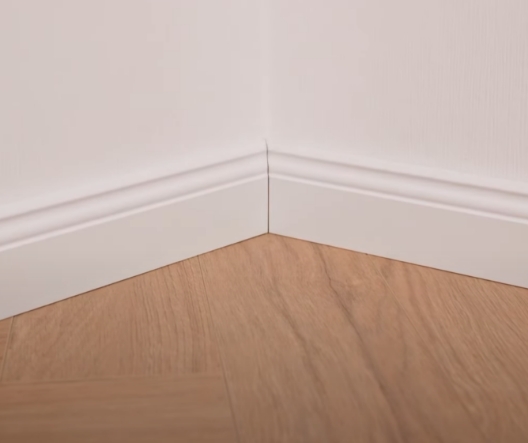
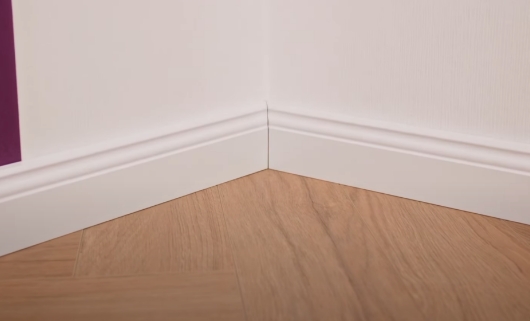
2. Install Skirting Boards:
Once all planks are laid, remove the spacer wedges. Attach skirting boards or beading to cover the expansion gaps.
3. Clean the Floor:
Sweep or vacuum to remove dust. Avoid wet mopping or using abrasive cleaners.
Pro Tips for a Perfect Finish
Check Symmetry as You Go:
A flawless herringbone pattern depends on precise alignment. Always check for gaps, misaligned edges, or height differences after interlocking panels.
Adapt to Your Room:
If your room has an unusual shape, adjust the centerline to align with key features like doors or windows for the best visual impact.
Why Choose KronoSHOP Herringbone Flooring?
KronoSHOP’s herringbone flooring combines durability, eco-friendly design, and timeless style. With an easy-to-install system and detailed support, our flooring is perfect for any space.
Ready to get started? Explore our full Herringbone Flooring Collection here and create your dream space today!
Need More Help?
This blog is based on the official KronoSHOP Herringbone Installation Guide. For more detailed instructions, consult the full guide here.